MUD Map user manual
MUD / MUSH / text adventure mapping tool, version 1.4.45
Most of MUD Maps features should be easily understandable. This manual gives a quick introduction to the most important ones. I hope you don't mind screenshots with partially german text ;)
More information and the download links can be found on SourceForge
Questions, bugs and feature requests
In any of these cases you can send me an e-mail ;)Installation
You don't need to install mudmap. Just download the suitable package for your operating system and place the content wherever you like.
Linux:
You only need the mudmap binary file.
Windows:
You need all files of the bin-x86 directory, otherwise MUD Map won't run.
First start
MUD Map asks you whether you want to run it in portable mode. If you want to use your worlds on multiple computers you can place the MUD Map executable on a USB flash drive (or any other removable media). In this case you have to use the portable mode. The world files will then be stored in the same directory as the MUD Map binary itself. If you don't choose the portable mode, the files will be separated from the binary. This is reccommended if you don't plan to use MUD Map on multiple computers.

Portable mode dialog
World selection / creating a new world
After you started MUD Map for the first time, you will need to create a new world. To do this click on "file" in the menu bar and "New". A dialog will open, enter the name of the world (or the name of the game the world belongs to). An empty tab will appear. You can later open the world by clicking a button in the overview tab.
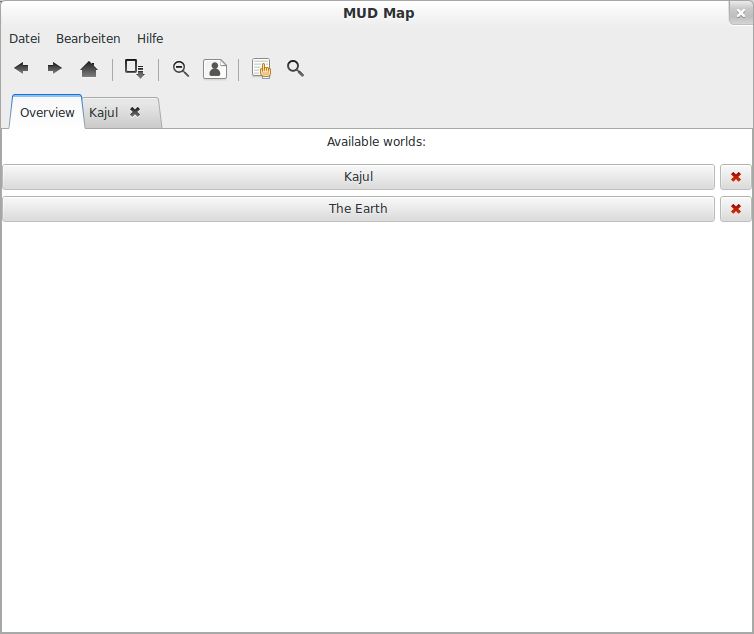
Overview tab, two worlds are already created, one is opened.
Creating areas
Areas are groups of places. All places of an area have the same color on the map (examples can be found in chapter "Adding places") and are grouped in the places list (the list can be found in the toolbar). You can add areas by clicking on Edit and Add Area.
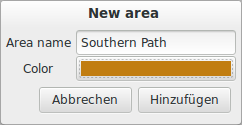
Adding a new area
Adding places
Do a right click at some empty, white space of the world tab, then click on new. A dialog will appear, you need to enter the name of the place and optionally some other information.
- Area - The area the place will belong to, the outer coloured ring of a place (see creating areas)
- Danger level - The inner colored ring shows how dangerous the place is. Do creatures or enemies attack or are you safe? You can add your own levels in the world configuration. (I suspect "danger level" to be translation mistake, I might fix it later)
- Reccommended level - You could use this information for reccommending character levels, eg. for finding areas where you can train your character ("you will get experience points for killing creatures if your character has a level of x")
- If you check one or more of the checkboxes, little letters will appear on the map to show whether the place has a shop, or food,...
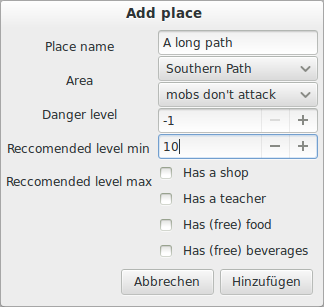
The add place dialog. I just noticed a bug, the descriptions on the left don't line up with the text boxes, and there are some translation mistakes :( I will fix it someday.
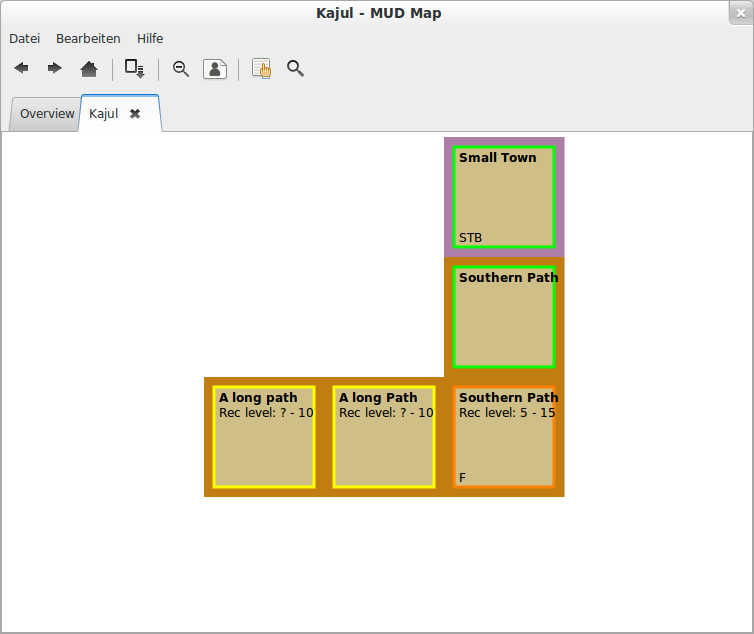
Some places
Connecting places with lines (ways / paths)
Unless you're a magician (or a physicist) you will need ways to get from one place to another. MUD Map provides ten directions where places can connect (north, northwest, west,... up and down). If these exit directions don't suffice you can also define your own exits (to do this choose "another" in the connect exits menu). There are two ways to connect places:
- Create each connection by hand. Right click on a place -> Ways / Exits -> Connect. Then choose the direction from the list. Do the same with the place to connect to.

Choosing the direction of the exit.
Don't get confused by the similar names of the two places. Multiple places with the same name can exist. - Automatically create connections to the surrounding places. Click on "automatic" instead of a direction and you will get a dialog with the names of the surrounding places and via which exits they will be connected. Select the places you want to connect and click on Ok.

The brackets show the exits that will be connected.
Sub-areas
Sub-areas can be imagined as maps within a map of a larger area. Say your map is about the whole country and two places that are next to each other have a virtual distance of multiple kilometers. Then you get to a village. The distances there are mabe a few hundred meters. And then you have a building with multiple rooms...
You could try to put everything on one map, and it would somehow work, but (imho) it's much nicer to have separate maps for all of these different kinds of areas. I hope you get what I'm talking about ^^ You can probably misuse sub-areas for different things, like multiple continents, dimensions,... be creative ;)
Right click on a place and choose Sub area. Then click "Add" to add an existing place as a subarea of the place you clicked on. Click "Connect with a new place on a new layer" to do what it's name says ;).

The Sub area menu. If a place already has one or more sub areas, you can remove or jump to them here.
Commenting places
You can add comments to each place. They will appear as tooltips when the mouse pointer is above the place and can contain any information or notice you want. You could, for instance, note that a special object can be found here.
To add a comment do a right click on a place and then choose "edit comments". You may insert multiple lines of text.
_036.png)
Some random information.
Moving places
There are two ways to move places:
- The obvious way: Right click on a place, choose "Cut", then right click on a free space and "Paste".
- The easy, but maybe a bit confusing way: Double click on a place to cut it out. Double click on other ways and they will also be cut out. Keep in mind which place you selected first, because the all other places will be pasted relatively to it. Then double click on a free space to paste the selected places.
You can't paste the places if one place has to be moved where another cut place was before. At first it might be confusing, but it's the only way to move multiple places at once.
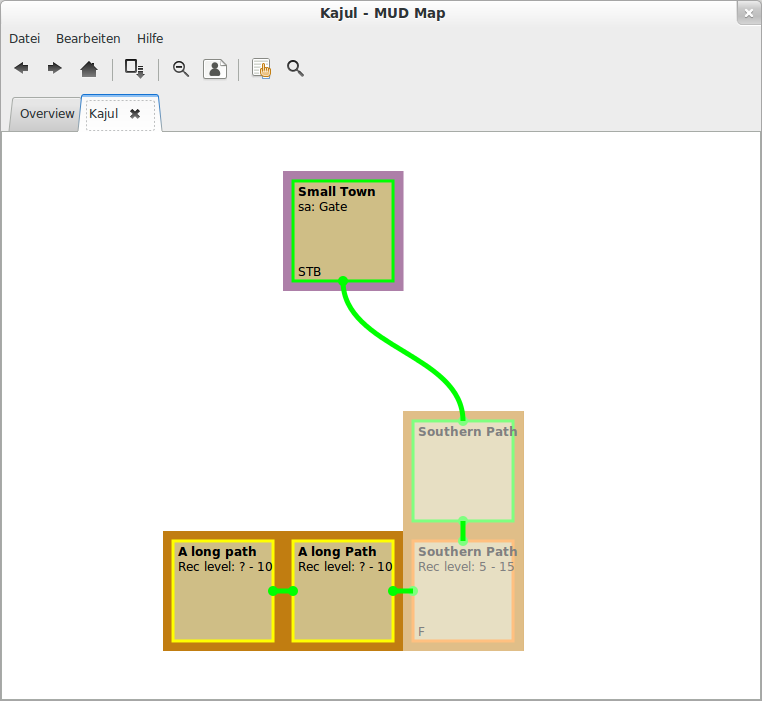
Two places are selected by the second method. The upper one was selected first so the lower place will be pasted below the free space where you paste. You can try to paste directly above the upper "Southern Path" and nothing will happen, because the second place would have to be pasted where a place currently is.
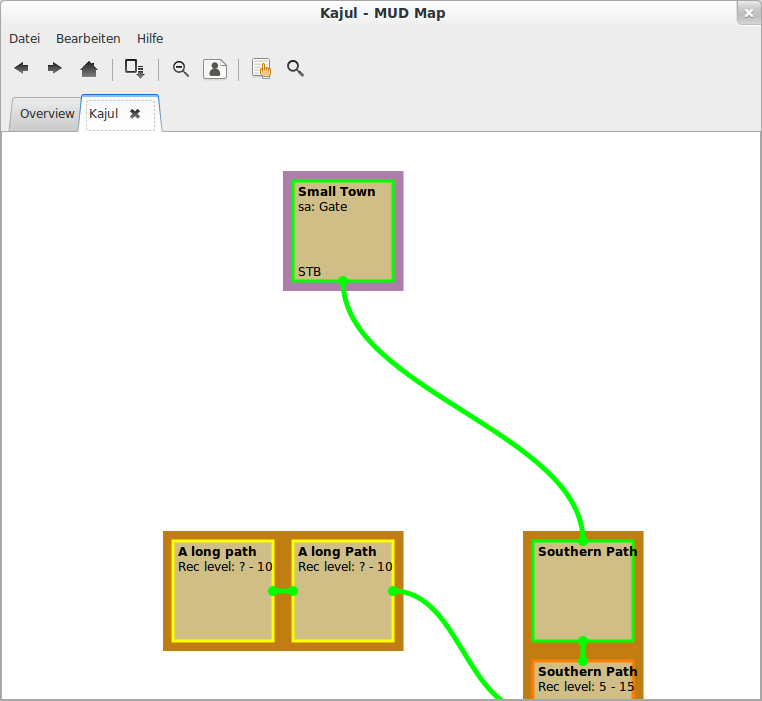
And the places are moved.
Exporting the map to an image
You can export the whole map to png-image, so you can share it with other persons who don't use MUD Map. Be aware that big maps will result in very high-resolution images. Click on file and "Save as image" to export the currently shown map (no other sub-areas will be exported!). You can choose to export the whole map or only the part that is shown on your screen.
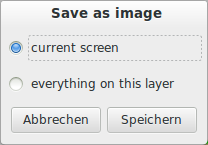
What will be exported?
The home position
You might want to set a home position (Edit -> Set home position), so you can easily get back to it by clicking the home button in the toolbar.
MUD Map - by moemneop